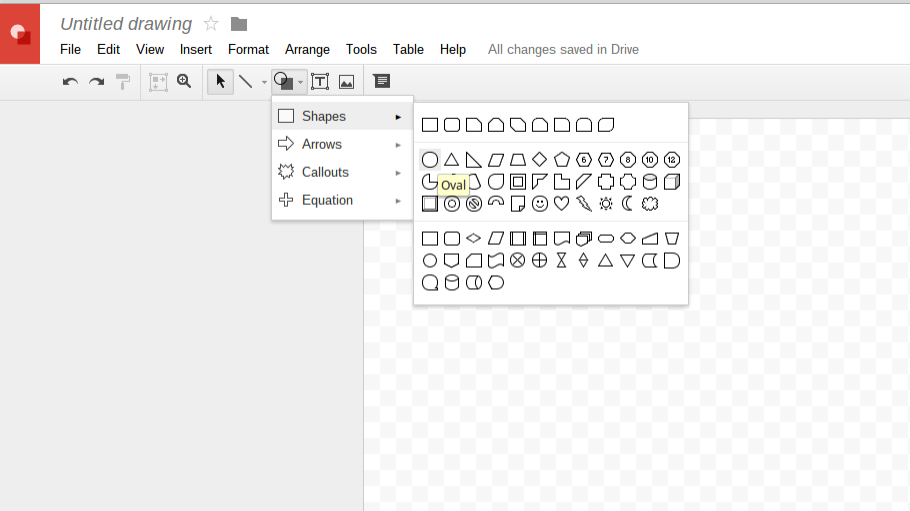
To begin, create a Venn Diagram by using the Shape drop-down menu and selecting the Oval.
Click anywhere on the screen and drag the circle on the canvas until you have the size you want. The circle will default to a light blue filled color, but you can make it transparent if you prefer. You can add the second circle by going through the same process, but I find it easier to copy and paste the original circle, which ensures that the circles are the same size.

From here, you may want to label the parts of your Venn Diagram. For example, the Venn diagram I created was used to compare plant and animal cells, so I placed different colored text boxes at the top of each sections of the Venn Diagram to differentiate between the sections.

Finally, use text boxes to place different word phrases around the Venn diagram. Each word should be it's own text box! I know this may seem tedious, but if all the words are in one text box, the whole box will drag along with the long list of words. This would obviously defeat the purpose. Below is the final product of my Plant vs. Animal cell Venn Diagram. I am also posting a link so you can make your own copy to use in your own class!

Until next time!